Monday, November 18, 2013

Pinspiration-"Shadow Puppets"


I have to admit that when I first heard about "Pinterest" I couldn't understand the appeal.  Today, I have come to love "Pinterest" and wonder how I ever found inspiration before, not to mention how helpful it is to organize your ideas (no endorsements here...just love).  There are truly endless resources of creative ideas in the "Pinterest" world.  I thought I would start a new post series where I share some of the projects I have done, based on "Pinterest" ideas. I found this cute shadow puppet inspiration from www.handmadecharlotte.com on Pinterest a couple of weeks ago. 


source: www.handmadecharlotte.com


My boys are now at an age where their imaginations are supercharged.  When I found this pin for "Shadow Puppets" I knew this would be a big hit.  Using a few shortcuts, this project only took about 20 minutes.  The full tutorial can be found at the link above.  Below are my tweaks and shortcuts. 

Just need a printer, card stock, scissors, pencils, and tape

I just used regular clear tape to adhere the paper to the pencils.


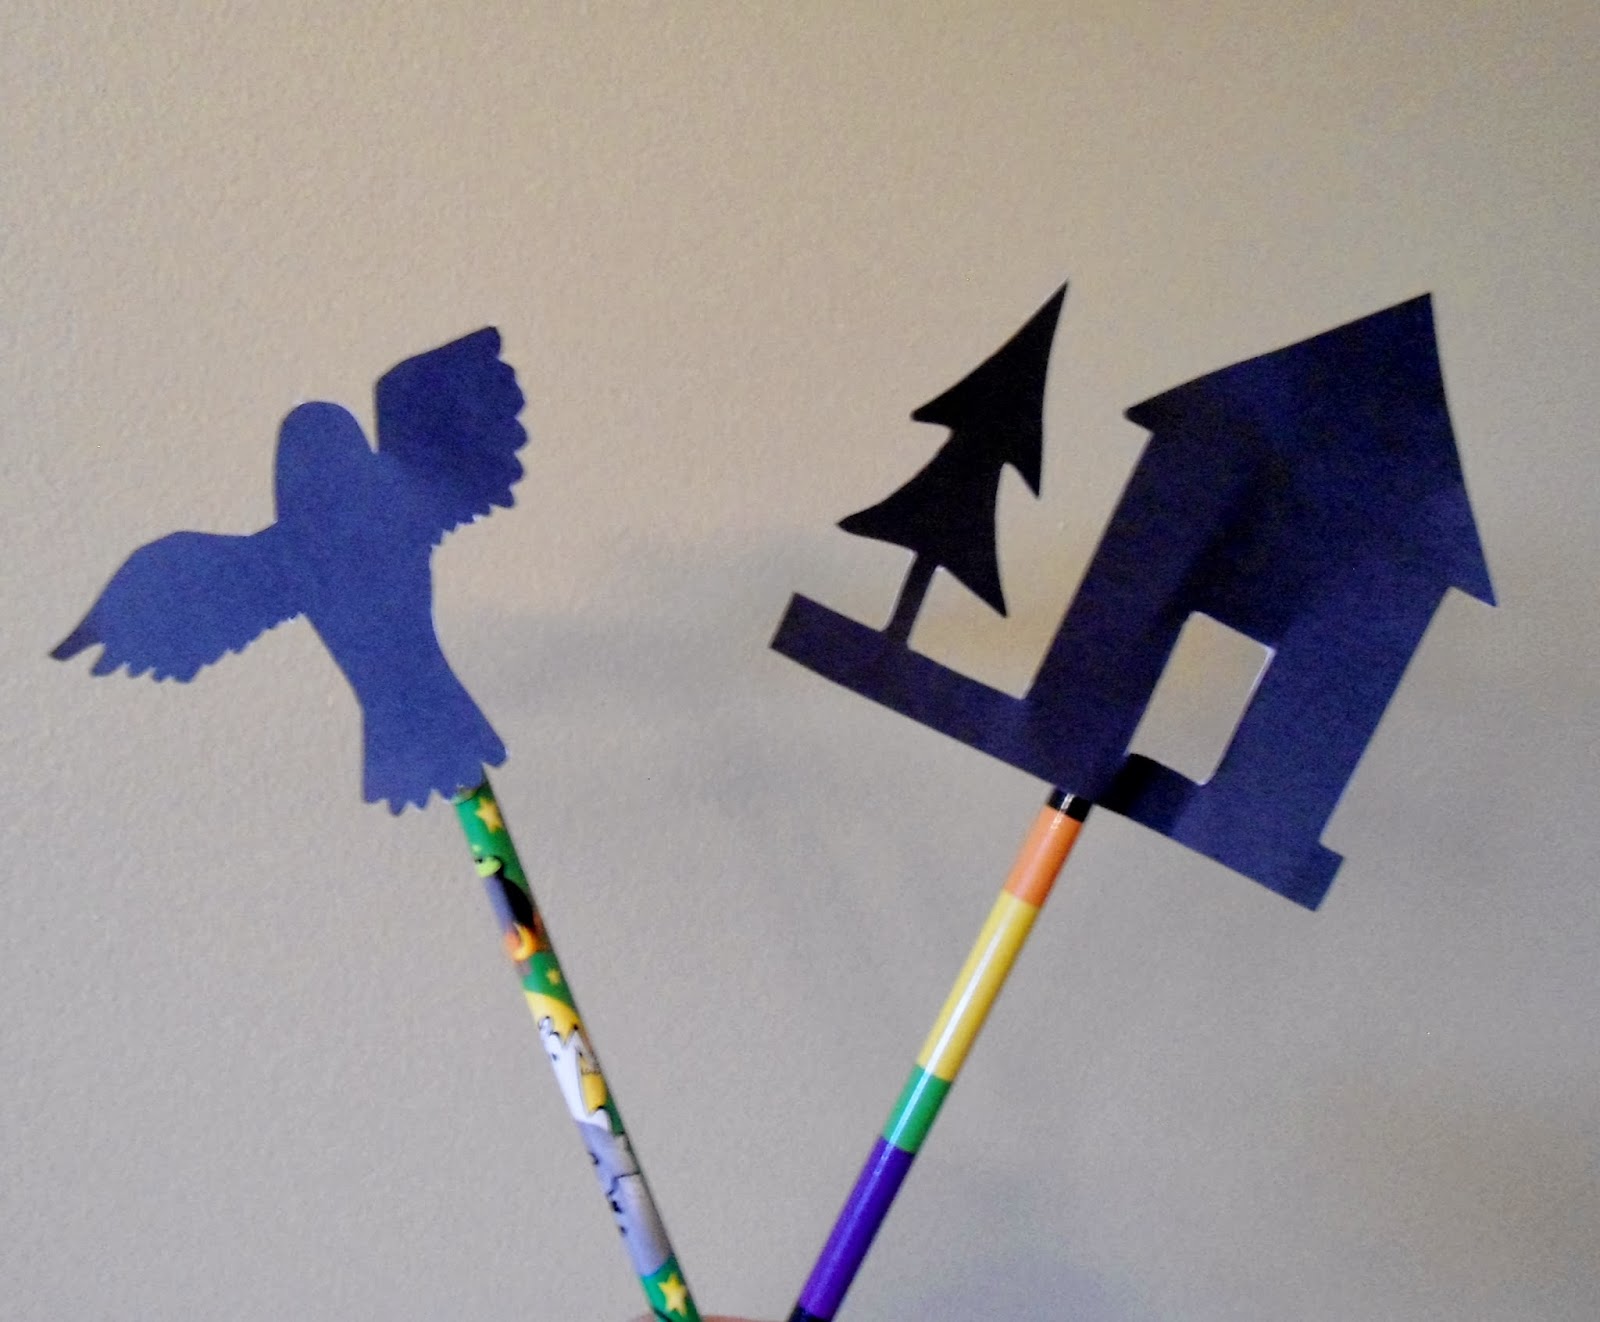
 I just printed the shadow images directly onto white card stock and then skipped the step that suggests you line them with black card stock.  I found they work just fine without the lining.  My other tweak was to use some left over Halloween pencils for the handles/stems instead of the cute black/white straws (I just used what I had on hand). You can get all kinds of items for shadow puppets by simply searching for "animal silhouettes" on google.  All you need is a flashlight and some imagination to make this toy come to life. 

Have you been doing any "Pinterest" inspired projects lately.  I would love to hear about them.

Laura


Saturday, November 9, 2013

The Basement Bathroom Reveal (Almost Finished)


My husband, John, has been working diligently nights and weekends for the better part of a year to renovate our basement.  The process has been very involved and required work in just about every trade imaginable: plumbing, electrical, drywall, framing, sealing, insulating, painting, new ceiling, new lighting, new flooring, and more.  Today I am sharing photos of the basement bathroom.  I never got a good "before" photo of this space but I do have some "demo" and "in-progress" shots (see below).


Before there was  a standard acrylic tub/shower combo unit in the space.  The floors were this really ugly green/white vinyl and there were these really tacky wood doors everywhere in the drywall that provided access to the water shut-off valve and plumbing clean-outs.

The ugly green/white check vinyl flooring was wall to wall throughout our basement.  It was direct glued down to the concrete, not only on the perimeter, but everywhere.  This made for a tough demolition job.  To make things a bit easier, John rented this scraper (video below).


Piles of demo flooring
The walls now have spray-in insulation, new drywall, PEX water lines, and the floor has been replaced with a wood-look vinyl.  John put in a "Schluter-Kerdi" waterproofing system for the shower and tile that we found in-stock at "Lowes". 


This bathroom not only functions but adds a lot of character to our house.  One of my favorite things is the mirror which was handcrafted by John from multiple species of wood.  Not only does the mirror look pretty, but it is on hidden sliding hardware that allows it to easily move to the left and allow easy access to the water shut-off valve (pretty nifty eh?).


Our "James Bond" feature; sliding mirror reveals water shut-off valve.


Last but not least, here are some shots of the newly tiled walk-in shower and white-washed wood plank ceiling.


White-washed wood planks on the ceiling
Oops, almost for got to mention the vanity/sink.  After no luck looking through every local antique and thrift store to find a base for our sink, John decided he could make one himself. He built the sink base with standard lumber and then stained it a dark black/brown walnut.  He glazed the top to make splashes and spills an easy clean-up.  The sink and faucet were purchased online.


This cute little shower curtain was a $5 purchase from IKEA.  We have considered adding a glass shower door, but for now we are happy with this budget friendly option.


There are still some finishes and tweaks to be made, but this space has come a long way.

This space and post were made possible by all the hard work from my husband.  His skill and determination never cease to amaze.  Thank You!

Laura